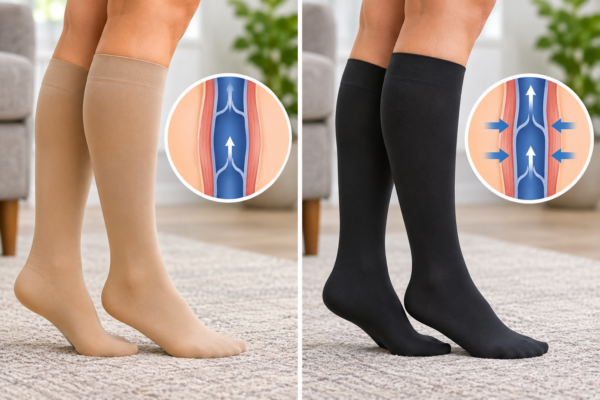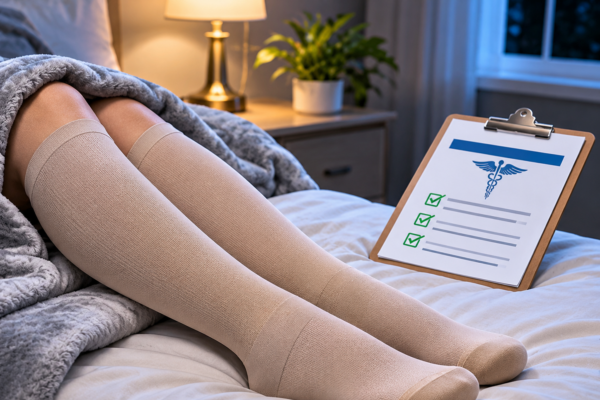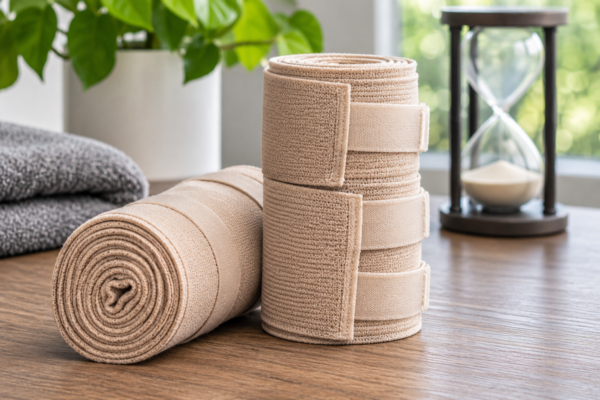

Confused about compression levels? Learn what's the difference between 15-20 mmHg and 20-30 mmHg to choose the right support for your needs. Find your fit!
How Do I Put On Compression Wraps?
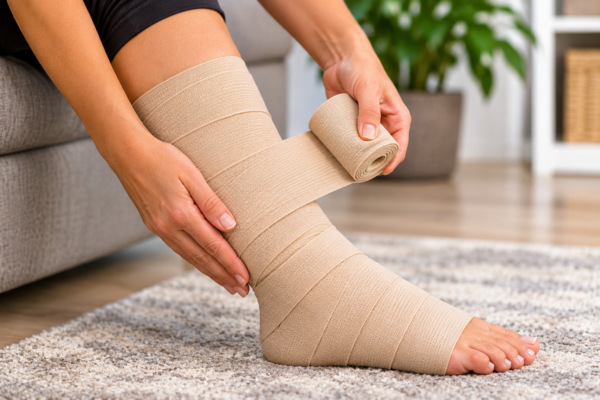 Learning how do I put on compression wraps? is the most critical step in effectively managing conditions like lymphedema, chronic venous insufficiency, or post-surgical swelling. Proper application ensures you receive the full therapeutic benefits, while incorrect wrapping can lead to discomfort or even harm. Consequently, mastering this skill is essential for your health and comfort. This guide provides a clear, step-by-step process to help you apply your compression wraps correctly and confidently every time.
Understanding Compression Wraps Before You Begin
Before diving into the application process, it’s helpful to understand what compression wraps are and why they are used. Unlike simple elastic bandages, medical compression wraps are specifically designed to apply a controlled amount of pressure to a limb. This pressure helps improve blood flow, reduce swelling, and support tissues. Importantly, they are a key component of a broader treatment plan often referred to as comprehensive compression therapy.
Types of Compression Wraps
Compression wraps primarily come in two forms: short-stretch and long-stretch. Short-stretch bandages provide high working pressure (when you are moving) and low resting pressure, making them ideal for managing lymphedema. In contrast, long-stretch bandages offer more constant pressure and are often used for other venous issues. For many, a multi-layer bandaging system is recommended by a therapist to achieve the desired pressure gradient. Therefore, always use the specific type of wrap prescribed by your healthcare provider.
Step-by-Step: How Do I Put On Compression Wraps?
Applying a compression wrap might seem daunting at first, but with practice, it becomes a manageable part of your daily routine. Following a structured method is the key to achieving consistent and effective results. For example, always start with clean, dry skin, and make sure you have all your materials ready before you begin. The following steps will guide you through the entire process.
- Prepare Your Leg and Materials: Begin by sitting in a comfortable position with your leg supported. Ensure your skin is clean, dry, and free of any lotions unless specified by your doctor. It’s often recommended to apply a liner or stockinette first to protect your skin.
- Start at the Base of the Toes: Anchor the wrap by making one or two turns around the ball of your foot, just behind the toes. Keep the wrap snug but not tight. Your toes should remain free and have normal coloration.
- Create the Ankle Lock (Figure-Eight): This is a crucial step for providing support and preventing the wrap from slipping. From the foot, bring the wrap diagonally up and over the front of your ankle, around the back, and then back down across the front, forming a figure-eight pattern. Repeat this motion twice for a secure ankle lock.
- Wrap Up the Calf: After securing the ankle, begin moving up the leg. Each new layer of the wrap should overlap the previous one by about 50%. This overlapping technique is essential for creating a smooth, even pressure gradient that moves fluid up and out of the limb.
- Maintain Consistent, Gentle Tension: The goal is to apply gradient compression, meaning the wrap is tightest at the ankle and gradually becomes less tight as you move up the leg. Pull the bandage with firm, consistent tension, but avoid stretching it to its maximum capacity. Furthermore, this prevents creating a tourniquet effect.
- Avoid Wrinkles and Gaps: As you wrap, continuously smooth out the material to prevent any wrinkles or gaps. Wrinkles can create painful pressure points and compromise the effectiveness of the compression. If you notice a wrinkle, it’s better to unroll a section and re-apply it smoothly.
- Secure the Wrap: Continue wrapping until you are about two finger-widths below the knee. Secure the end of the wrap with the provided clips or tape. Never use metal pins, as they can damage the wrap and your skin. Check your toes for color and warmth to ensure circulation is not restricted.
What Are the Common Mistakes to Avoid?
Knowing the correct technique for applying compression wraps also means knowing what not to do. Avoiding common errors is just as important as following the right steps, as mistakes can reduce the therapy’s effectiveness or cause complications. Pay close attention to these potential pitfalls.
- Wrapping Too Tightly: This is the most dangerous mistake. If you experience numbness, tingling, increased pain, or your toes turning blue or white, the wrap is too tight and must be removed immediately.
- Wrapping Too Loosely: A wrap that is too loose will not provide the necessary therapeutic pressure and will likely slip down your leg. Consequently, the treatment will be ineffective.
- Leaving Gaps Between Layers: Gaps in the wrap create an uneven pressure field, which can cause fluid to pool in those areas, defeating the purpose of the wrap.
- Creating Wrinkles or Creases: As mentioned, wrinkles concentrate pressure on small areas of the skin, which can lead to sores, blisters, and significant discomfort.
- Inconsistent Overlapping: Failing to overlap each layer by approximately 50% results in an inconsistent pressure gradient, making the compression less effective.
For more information on different types of garments, you might find it useful to understand how to choose the right compression garments for your specific needs.
Tips for Comfort and Long-Term Care
Properly applying your wraps is only part of the equation. You also need to know how to care for them and wear them comfortably throughout the day. Adopting good habits will extend the life of your wraps and improve your overall experience with compression therapy. An external resource from the Cleveland Clinic offers excellent information on the broader topic of compression therapy.
Daily Wear and Maintenance
Most compression wraps are designed to be worn during the day while you are active and removed at night. However, always follow your healthcare provider’s specific instructions. Additionally, ensure your footwear can accommodate the wrapped limb without causing additional pressure. When it’s time to clean your wraps, wash them by hand with a mild soap and lukewarm water, then lay them flat to air dry. Never wring them out or put them in a machine dryer, as high heat can destroy the elastic fibers.
Final Thoughts on Proper Application
Mastering how do I put on compression wraps? is a skill that directly impacts your health and the success of your treatment. While it takes practice, consistently following these steps will help you achieve the best possible outcome. Remember that the wrap should feel supportive and snug, never painful. If you have persistent trouble or are unsure about your technique, do not hesitate to ask your doctor or physical therapist for a demonstration. Ultimately, your comfort and health are the top priorities. Knowing how long your wraps should last and when to replace them is also key to effective, long-term management.
Related Posts